CALL TODAY! → (682) 459-8761
The Ultimate Guide to Drywall Hanging: Building Strong, Durable Walls
Discover the essentials of drywall hanging, from proper installation techniques to achieving durable, seamless walls for any project.
2/4/20253 min read

Introduction
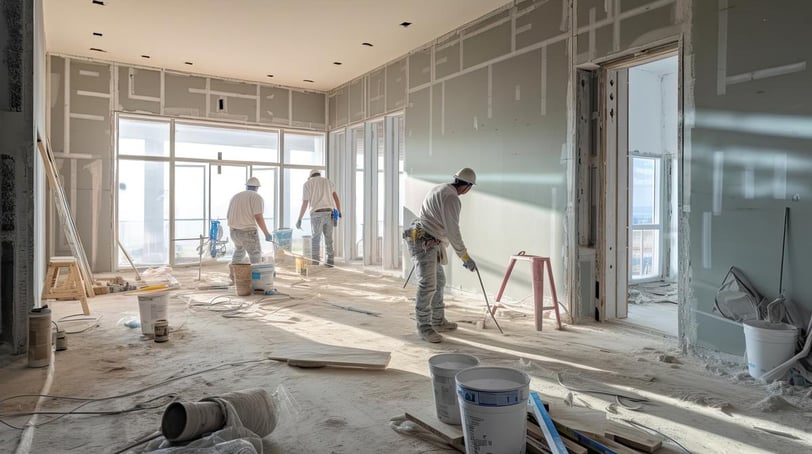
When it comes to interior construction, drywall hanging is one of the most essential steps in creating solid, durable walls and ceilings. Whether you're building a new home, renovating a space, or adding an extension, properly installed drywall provides a smooth, seamless surface for painting, texturing, or wallpaper. But what exactly is drywall hanging, and why is it so important? Let's break it down!
What is Drywall Hanging?
Drywall hanging is the process of installing drywall panels onto the framework of walls and ceilings. This step lays the foundation for the final interior finish. Without proper installation, you may end up with uneven surfaces, visible seams, or walls that don’t hold up over time.
At E&C Drywall LLC, we take drywall hanging seriously. We use precise measurements, high-quality materials, and expert craftsmanship to ensure your walls are perfectly installed and built to last.
Step-by-Step Process of Drywall Hanging
1. Measuring and Cutting
Before anything else, drywall sheets must be cut to fit perfectly within the designated space. Our team measures the dimensions of the wall and ceiling frames and carefully cuts each drywall panel to minimize waste and ensure proper alignment.
2. Positioning the Drywall Panels
Once cut, the drywall sheets are carefully positioned against the framework. The goal is to align them so that the seams land on the studs for maximum support. Proper alignment prevents gaps and ensures a smooth transition to the finishing phase.
3. Securing with Screws or Nails
Using the right fasteners is crucial! We secure the drywall with drywall screws or nails, placing them at precise intervals along the studs. This step prevents movement, reduces the risk of cracking, and ensures a tight, secure fit.
4. Sealing the Seams
After installation, seams and joints must be covered with drywall tape and joint compound. This process ensures that the wall surface is even and hides any gaps between the panels. Once the compound dries, it’s sanded down for a smooth, flawless finish.
5. Final Inspection
Before moving to drywall finishing, we check every detail to ensure the drywall is secure, even, and ready for the next step. Any imperfections are corrected to maintain the highest quality standards.
Why Proper Drywall Hanging Matters
A poorly installed drywall system can lead to cracks, uneven surfaces, and structural weaknesses. That’s why working with experienced drywall contractors like E&C Drywall LLC ensures your walls and ceilings are:
✔ Durable – Properly installed drywall can last for decades without issues. ✔ Seamless – No visible seams or uneven joints. ✔ Ready for Painting or Texturing – A smooth finish ensures flawless paint application or texture matching. ✔ Energy Efficient – Well-installed drywall contributes to better insulation and temperature control in your home or business.
Common Drywall Hanging Mistakes (And How We Avoid Them!)
Even the smallest errors in drywall hanging can lead to big problems down the road. Here are some common mistakes people make when installing drywall—and how our team ensures they don’t happen:
❌ Incorrect Fastener Placement: Too few screws or nails can cause panels to shift, while too many can weaken the drywall. We space them precisely for a strong, secure hold.
❌ Misaligned Seams: If seams don’t land on the studs, the drywall won’t be properly supported. We measure and plan carefully to align every panel correctly.
❌ Skipping the Joint Tape: Some DIYers try to apply joint compound without tape, leading to cracking over time. We always reinforce seams with high-quality drywall tape before applying compound.
❌ Over-Sanding: Sanding too much can weaken the surface and expose the tape, while too little leaves an uneven finish. Our experts sand just enough to create a smooth, flawless surface.
Drywall Hanging FAQs
1. How long does drywall installation take?
It depends on the size of the project! A single room can take one to two days, while a full home installation may take up to a week.
2. Can I hang drywall myself?
While some homeowners attempt DIY drywall installation, professional contractors ensure proper alignment, secure fastening, and seamless finishing—saving you time, money, and headaches in the long run.
3. How much does drywall installation cost?
Costs vary based on project size, materials, and labor. Contact us for a free estimate tailored to your specific needs.
Why Choose E&C Drywall LLC for Drywall Hanging?
At E&C Drywall LLC, we bring years of expertise, precision, and high-quality materials to every drywall installation project. Our skilled team ensures:
✅ Seamless and secure drywall hanging
✅ Precision cutting and expert fastening
✅ Flawless finishing for a smooth, professional look
✅ Timely and efficient project completion
Whether you’re building a new home, remodeling a space, or adding an extension, our drywall hanging services guarantee strong, durable, and perfectly aligned walls and ceilings.
EMAIL:
FOLLOW US ON SOCIAL MEDIA
SUBSCRIBE TO OUR NEWSLETTER
CALL:
HOURS:
Mon-Sat
9:00am-5:00pm
COPYRIGHT © 2025 E&C DRYWALL LLC.